

Dog Nerdz
Your Free Resource
For Dog Advice

Food Guides
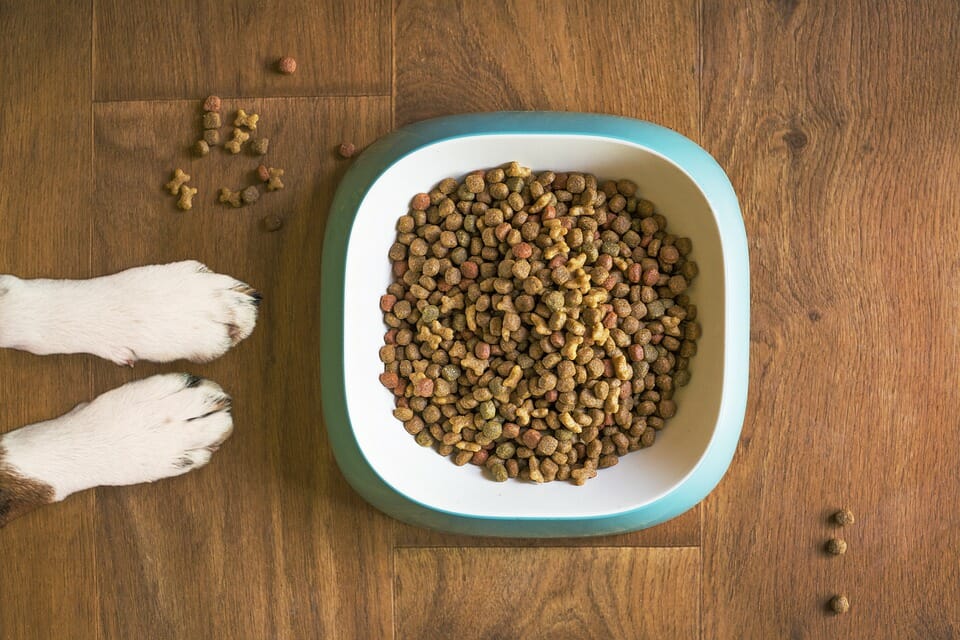
Having a hard time figuring out what food is best for your dog? Our food guides will help you find the perfect food by brand, breeds, health conditions, and more! We have it all covered.
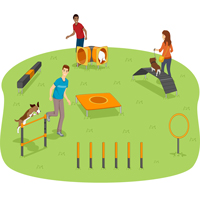
Training Guides
For guides on training your dog, correcting behavior, and general canine coaching advice – our Training section is your next stop! Click below.
Breeds
Want to learn more about your favorite breed or discover interesting new types of dogs? Take a look at some of our breed related articles.
Explore Our Categories


Our Popular Posts


Recent Posts From Our Blog


Who We Are
Dog Nerdz was founded in late 2017 by me, Brad. Around that time I had just got a precious short haired miniature dachshund puppy named Boogie and was spending a lot of time researching the best ways to train and raise my new pup as well as what products were best for him.
One day I had the idea that I should document my research and create a blog to share this information with other dog owners – that’s how Dog Nerdz was created.
Since then, Dog Nerdz has come a long way. We now have a full team and staff of writers who share our passion for dogs, research, and helping others.
You’ve come to the right place and are in great hands to get the right information about raising your amazing dog.
Learn more about us here.

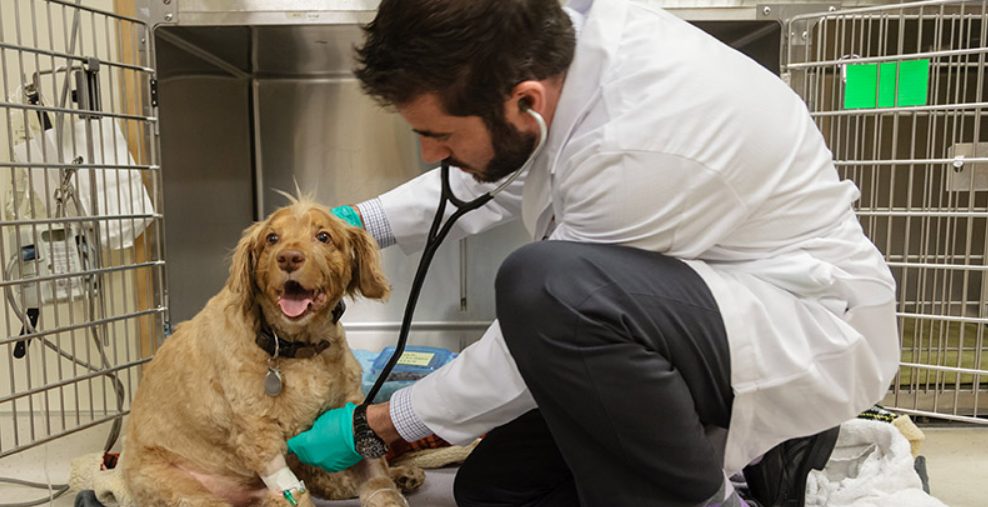
We Are Supported by a Team of Vets
Our articles are checked and certified for content accuracy by DVM’s (Doctor of Veterinary Medicine) specialists.
We want to ensure you are reading the most factually accurate information possible, which is why our veterinary specialists double check some content.
Read our Medical Disclaimer for more information.
Interested in dog training? Read this Spiritdog training review.